I posted a photo of my project board a few months ago, and I got a few questions about my magnets. They’re enamel pins that I’ve converted to magnets. I love collecting enamel pins but I don’t ever wear them, so this is my way of finding a use for them.

I try to do the converting in small batches, and I took photos as I was doing it this last time around.
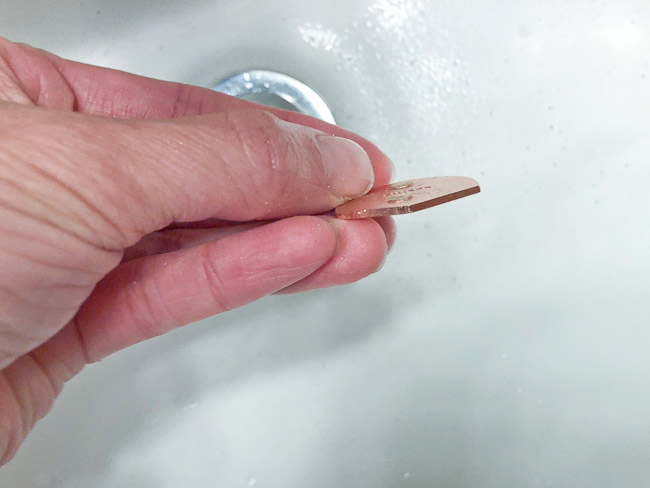
I start by removing the pin backings and cutting off the posts with wire cutters.


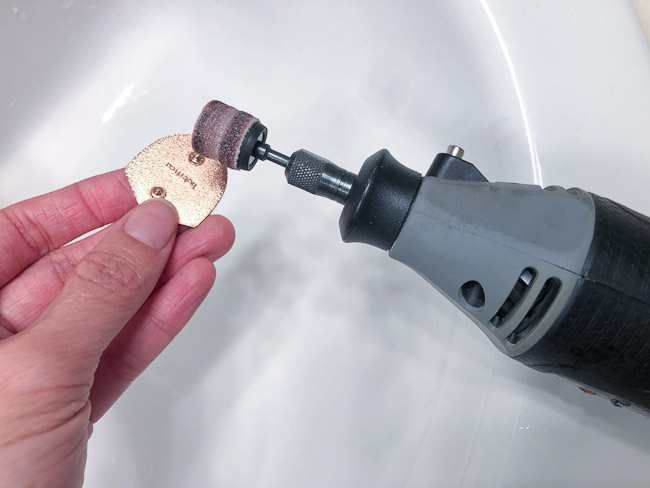
Then I use a Dremel rotary tool with a sanding bit to grind down the stumps, until the back of the pin is smooth.

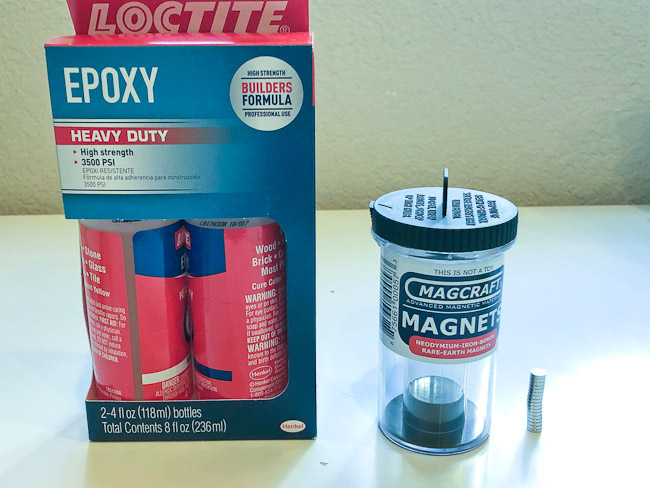
I use a quick set epoxy to glue neodynium (or rare earth) magnets from Home Depot. There are a lot of options for magnet sizes. I’ve tried a couple different sizes and this is the size I like best: 1/4″ diameter and 1/16″ thickness.
Before mixing the glue, I like to roll a piece of tape and set up my magnets on it. Rare earth magnets are so strong that I find prying them off the stack time consuming, and trying to do that while the glue is already setting is a little stressful. It’s easier for me to have them prepped and ready to go before hand. (Obviously needing two magnets isn’t that big deal, but I usually do 6-8 pins in a batch.)

Then I just mix up epoxy and put a small dab on the pin backing. Pop a magnet on the glue and wait for glue to set. For bigger pins, I use two magnets.

And that’s how I ended up with way too many magnets for my project board. =D


