Sorry for the delay getting the rest of this tutorial up! Getting our holiday card done ate my brain for the last 2 months. If you missed it, part 1 of this tutorial is here. Ok, so back to making Moana’s top…
I made the top as a tube top with a shirred back piece.

The first thing I did was to do some shirring tests. I needed to figure out how much my fabric would shrink when shirred. (I learned to shirr by googling “shirring tutorial” and reading a couple tutorials. It’s really easy!) Because the number of rows of shirring affects how much the fabric shrinks, I shirred a piece of fabric that is as long (top to bottom measurement) as my final piece was going to be.
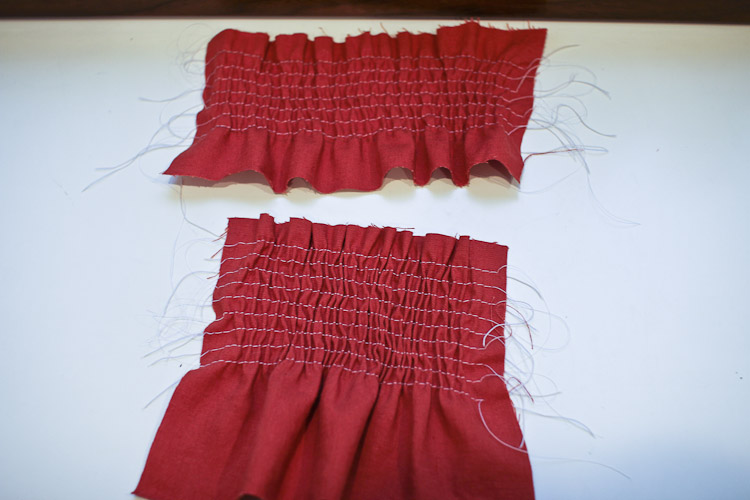
I found that a 10″ piece of my fabric shirred would shrink down to 7″ stretched out.
Next I measured the Grub. She has a 20″ chest measurement and I wanted about 1/4 of that to be shirred, so I needed a 5″ shirred piece. Knowing that a 10″ piece becomes 7″, and I need a 5″ piece, I set up this equation and solved for x. (My Algebra teacher would be so proud.)
7/10 = 5/x
So I needed a 7.5″ wide piece of fabric for shirring. The painted fabric would then be the chest measurement minus my shirred pieces, so 15″ wide. I added an inch on to each piece to account for seam allowances.

If that math was confusing, don’t stress it. Basically you need the shirred piece and the painted fabric piece to equal the chest measurement, and you need enough give to allow the wearer to get into the top, so don’t make the shirred piece too small.
I hemmed both pieces of fabric with a narrow hem.


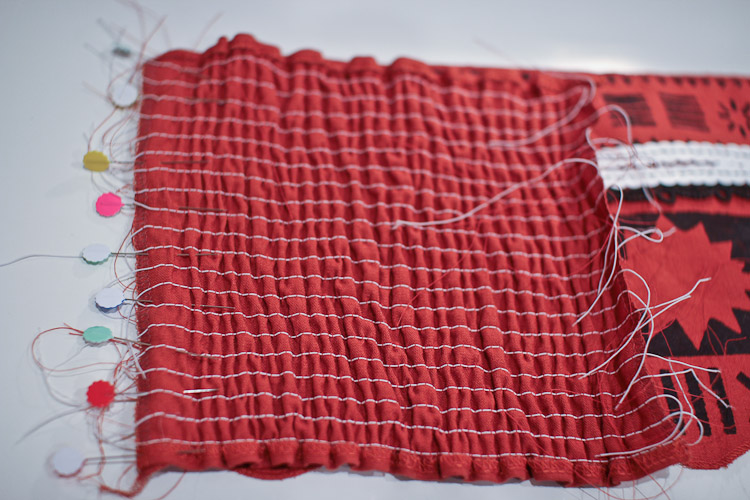
I shirred the unpainted fabric and set it aside.

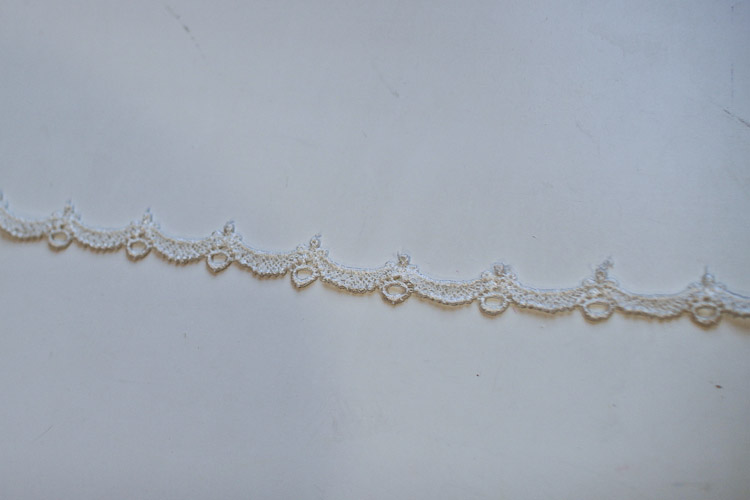
For the black/brown pattern that goes across Moana’s top, I used a lace trim that I painted black. I was going to dye it, but then realized that the dye would bleed every time I washed the top, so I decided to use acrylic paint mixed with fabric medium.

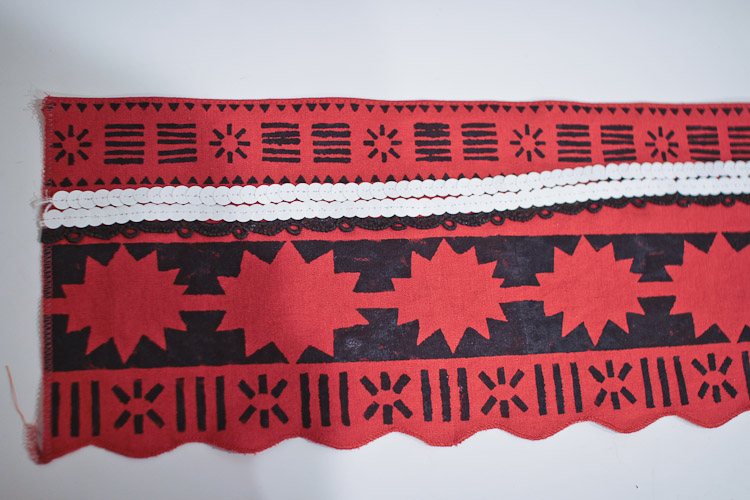
I pinned the black trim to the top and stitched it down.
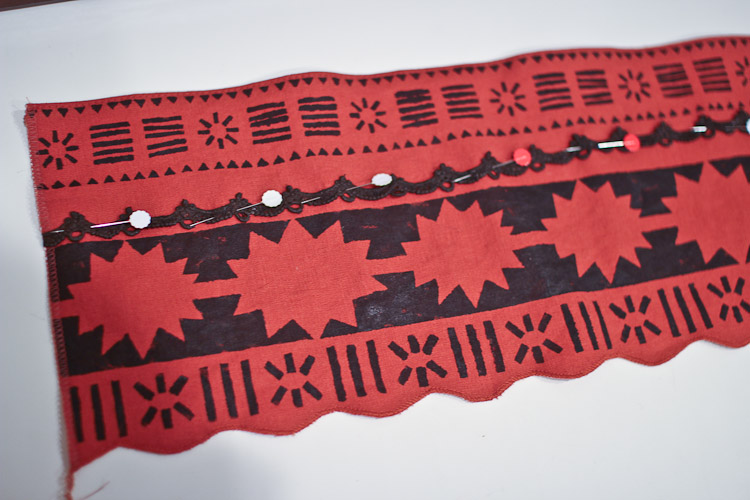

For the shells, I decided to go with white sequins that I got off of Etsy. I thought about using buttons but I was really concerned about too much weight dragging the top down. I pinned 2 rows of sequins and stitched them down with one of the decorative stitched on my machine. (Note: make sure the sequins are facing the same way on both rows or it looks weird! Ask me how I know…)

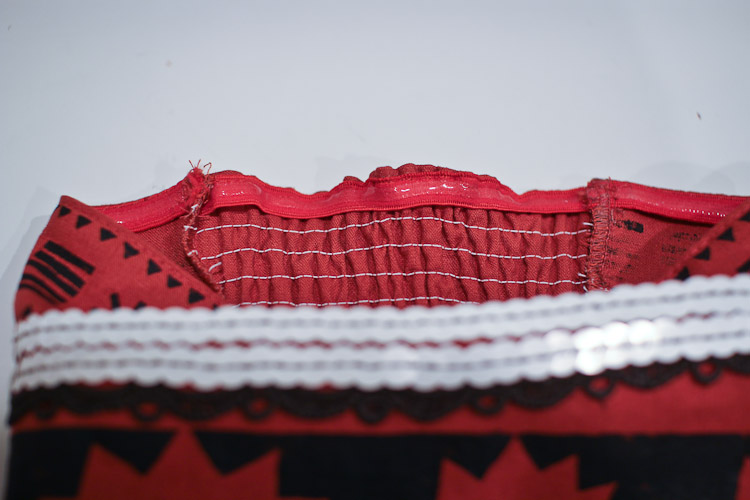
I also added silicone elastic to the back of the painted piece. Silicon elastic sticks to skin and I was hoping it would help keep the top in place. Toddlers have no curves to hold up anything, so I was trying to do what I could to combat the problem.
Silicone elastic is available on Etsy or Amazon, or you can make your own. (I haven’t tried making my own but I’ve seen tutorials from people who have.)

Now that the painted piece of fabric was ready to go, I attached the shirred piece. I put the right sides together and stitched to form a tube top. I used a bananas small stitch length to make sure I caught all the shirring elastic to keep it in place. I’ve found if I don’t do this, the shirring elastic will pull out after it’s been trimmed.

I finish of my inside edges by trimming the elastic and running the seams through my serger.

And done!
But then I tried it on the Grub and it ended up being too big. /cry
I really really didn’t feel like disassembling the entire top to make it smaller, so I added another piece of silicone elastic to the shirred piece to shrink it down. I stretched out the elastic while sewing it to the back and when the tension on the elastic was released, it shrunk down, making the tube top a little smaller.
Lesson #1 for AJ: make sure you have a very snug chest measurement for the tube top.
Lesson #2 for AJ: don’t finish your seams until you’ve done a test fit. =P
On hindsight, if I had to do this over, I’d put velcro on the shirred piece and have a velcro closure to the tube top, because then I could adjust the velcro to wherever I needed. Oh well… I’ll just have to remember that for next time.
Moana costume tutorials:


