I find sewing machine covers fast, fun projects where I can use up scraps, or make use of the cute fabric that I sometimes buy because I can’t resist.
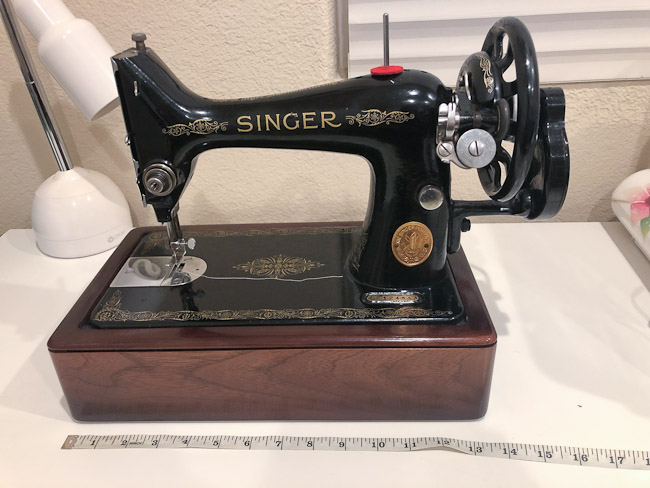
I recently had someone ask me for a tutorial on how I make these, so I took a bunch of photos when I made a cover for my Singer 99 hand crank.

My sewing machine covers are pretty simple: they consist of 2 side panels and a long rectangle panel for the body.
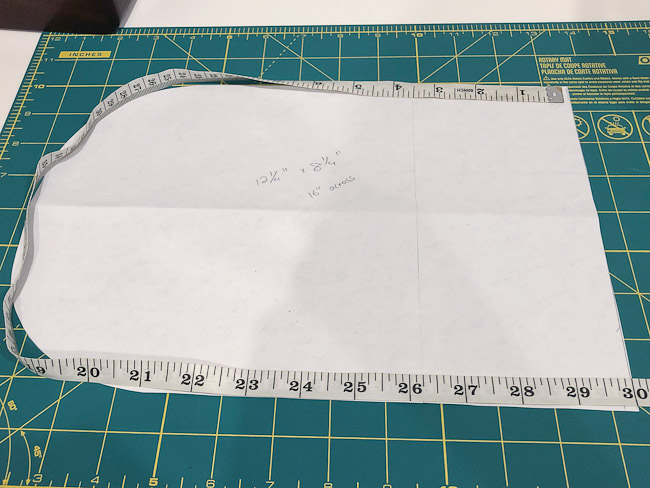
For the side panels, I measured the side of the machine at the widest point, and at the highest point. I added a little bit extra for wiggle room, and then added 1/4″ all around for the seam allowance. (Using a small seam allowance like 1/4″ makes it easier to get around curves without needing to clip.)


So for this machine, my side panel was 8 1/4″ across and 12 1/4″ high.
I drew a rectangle with the dimensions measured, and smoothed out the corners on top by tracing a bowl. (Rounding the edges saves me from having to turn corners when doing the binding step.) I cut out the side panel pattern, and held it up to the machine to make sure the shape is what I wanted, and that it was big enough to cover the machine.

To get the measurements for the body panel, I measured around the edge of the side panel: 30″.
Then I measured across the front of the machine at the longest point. In this case, I had to account for the hand crank which sticks out a lot farther, and then add on 1/2″ (1/4″ seam allowance for each side): 16 1/2″.
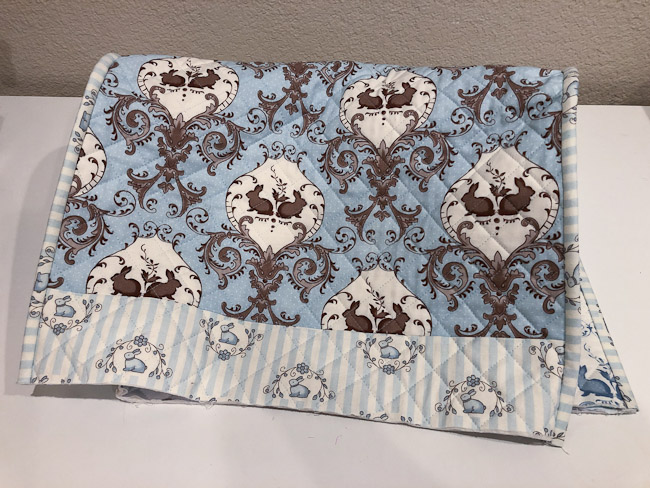
I assembled a piece of fabric that is 30″ long by 16 1/2″ wide. I pieced together scraps, but I’ve also done patchwork on past covers, or used a single piece of pretty/cute fabric.

I cut out 2 side panels using my pattern.


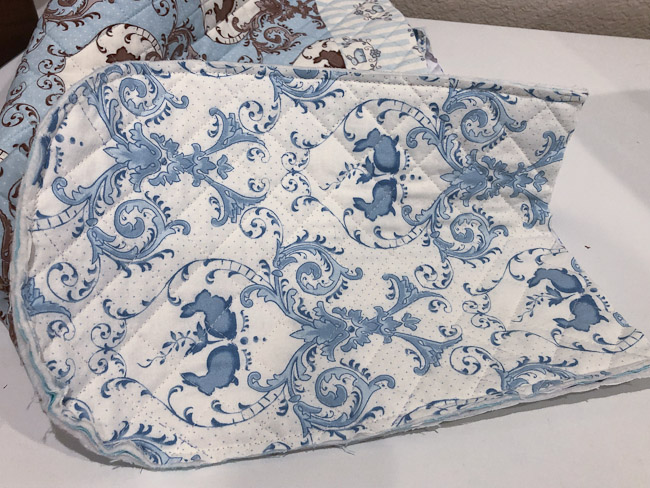
I like my machine covers to have some structure, so I quilted my pieces to make them a little stiffer. (You can use fusible interfacing if you don’t want to quilt, or skip this step.)
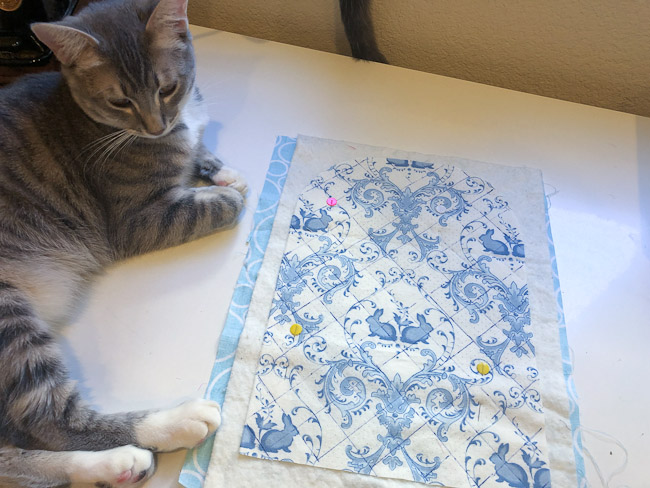
I quilted both side panels and the body panel, and trimmed off the excess.


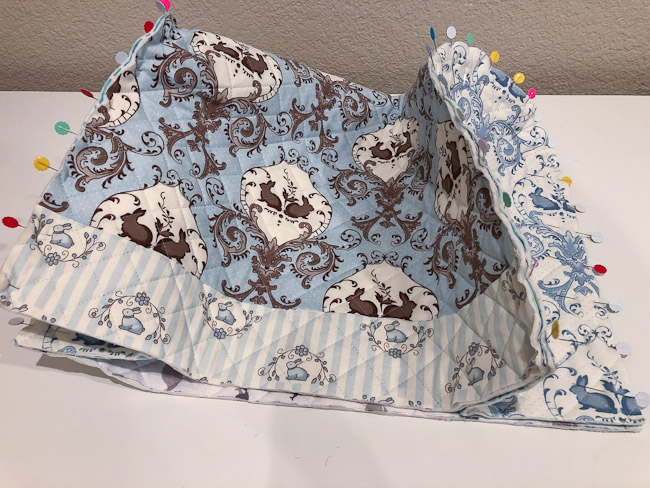
I pinned the rectangle body piece to the side panels.

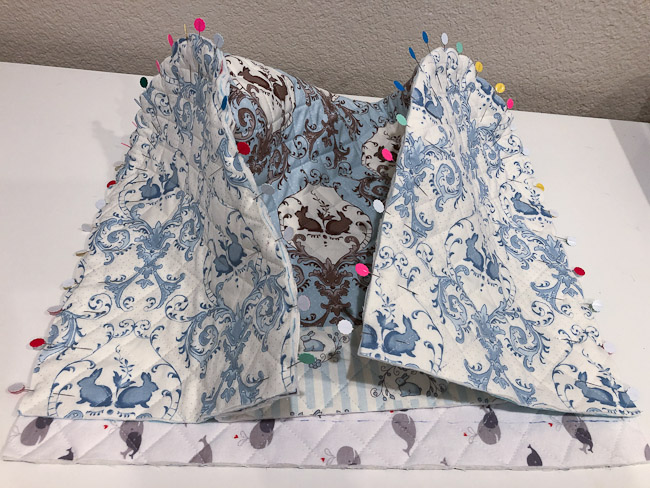
I obviously measured wrong somewhere because my body panel was way too long. Oops… better too long than too short though! I just trimmed off the excess.
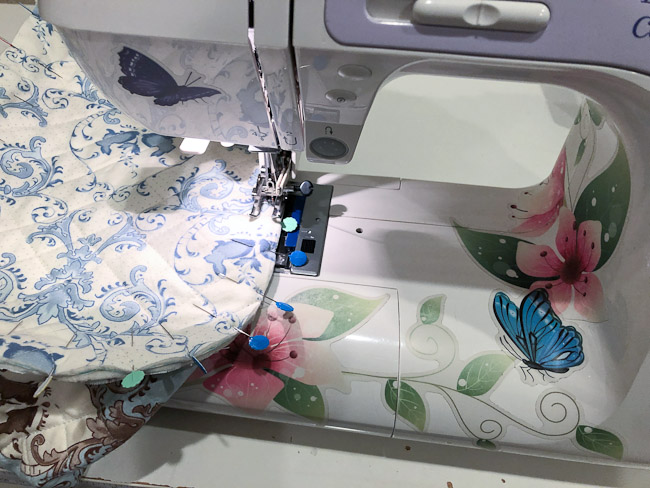
Using 1/4” seam allowance, I stitched the panels together.
After it was all sewn together, I did a quick check to make sure the cover fit on the machine.

To finish the seams, I used quilt binding, but any type of binding will work. I always do the sides first and then the bottom edge.

And that’s it!
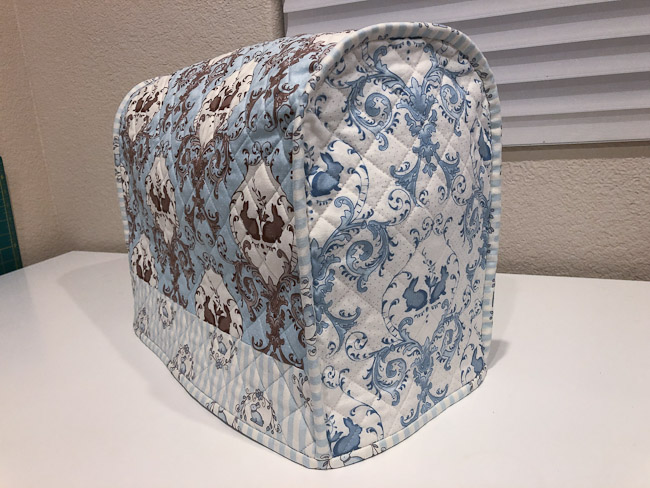
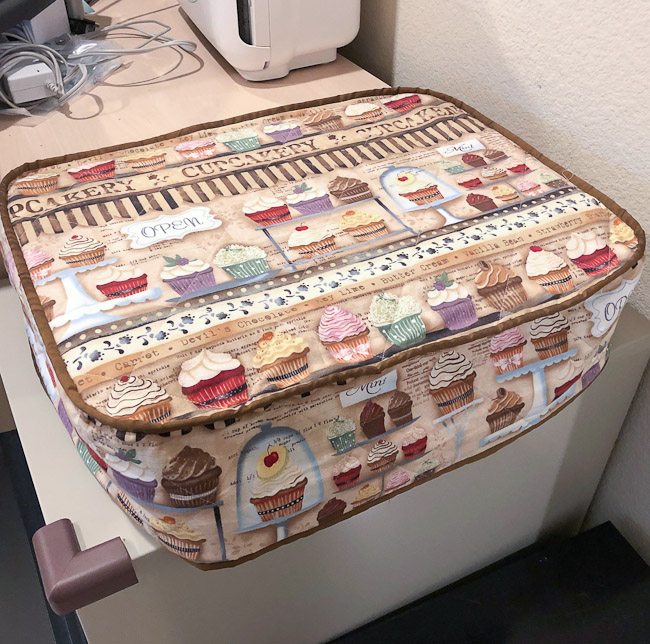
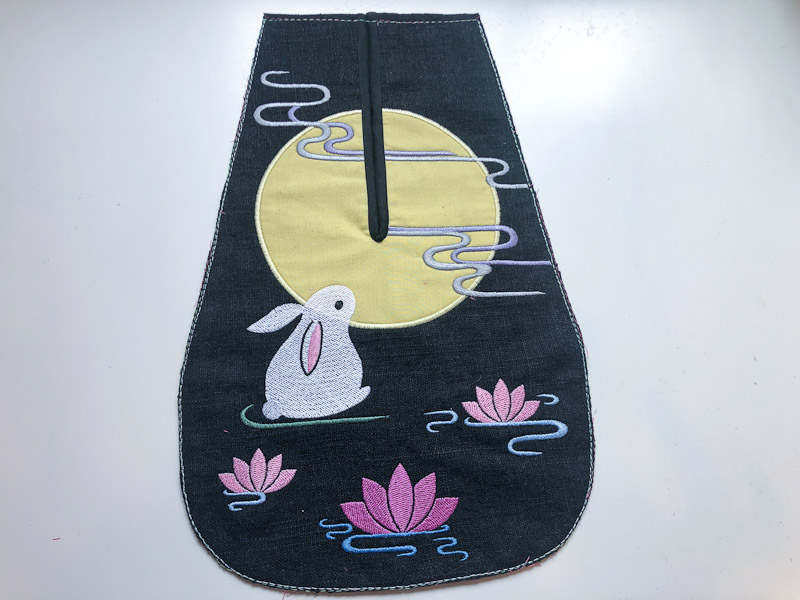
Here are some other covers I’ve made.


I’ve also used the same technique to make a cover for my printer.